
This week, we're excited to showcase how Convox Cloud makes it incredibly simple to deploy powerful open-source applications like n8n - giving you enterprise-grade automation capabilities without the enterprise price tag. With our X-Small machine tier offering 250 free hours monthly, you can run your own workflow automation platform for development, testing, or even light production workloads at no cost.
n8n is a powerful, self-hosted workflow automation tool that rivals commercial solutions like Zapier, Make (formerly Integromat), or Microsoft Power Automate. By hosting n8n yourself, you gain:
The challenge has always been the complexity of deployment and infrastructure management. That's where Convox Cloud changes the game.
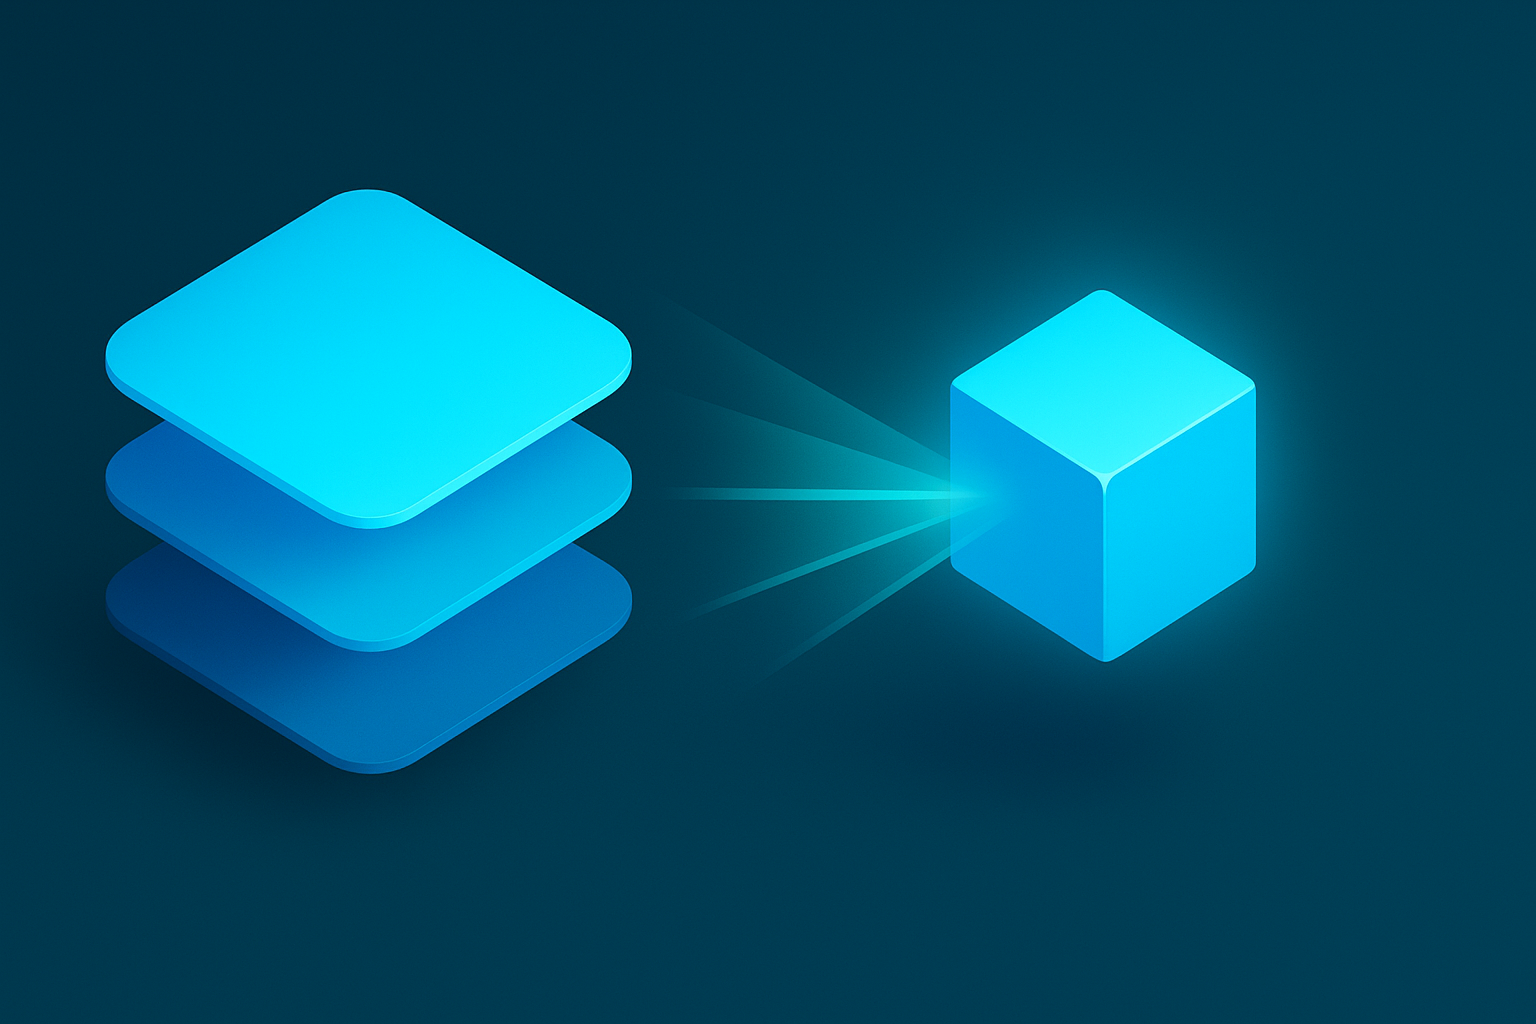
Convox Cloud provides managed compute resources called "Machines" that eliminate the traditional overhead of container orchestration. No Kubernetes expertise required, no AWS account setup, no infrastructure maintenance - just instant deployment capability with automatic SSL, load balancing, and built-in monitoring.
Our X-Small machine (0.5 vCPU, 1 GB RAM) is perfect for n8n development environments or small team deployments, and with 250 free hours monthly, you can run it continuously for over 10 days each month at no charge.
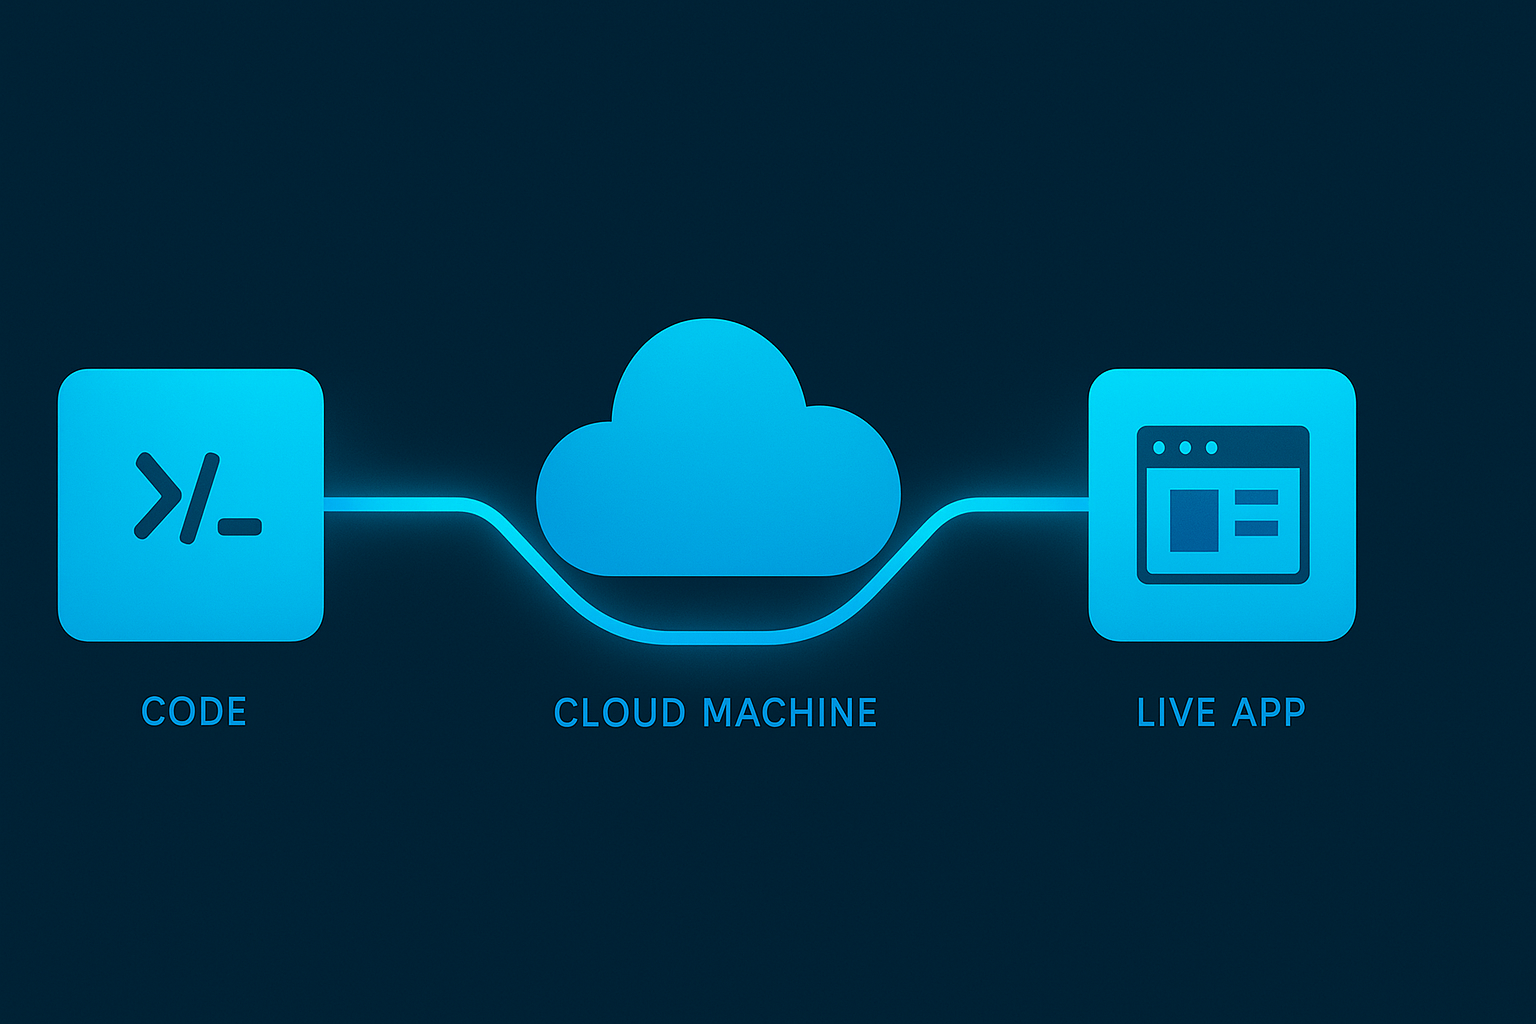
Let's walk through deploying n8n on Convox Cloud. The entire process takes less than 10 minutes from signup to running application.
First, let's set up your Convox Cloud infrastructure:
1. Sign up for Convox at https://console.convox.com/signup
2. Alternative for existing Convox users:
Your machine will be ready in seconds. Note the machine name - you'll need it for deployment.
The Convox CLI is your command-line interface for deploying and managing applications. Install it based on your operating system:
macOS (Intel/AMD):
curl -L https://github.com/convox/convox/releases/latest/download/convox-macos -o /tmp/convox
sudo mv /tmp/convox /usr/local/bin/convox
sudo chmod 755 /usr/local/bin/convox
macOS (Apple Silicon/ARM):
curl -L https://github.com/convox/convox/releases/latest/download/convox-macos-arm64 -o /tmp/convox
sudo mv /tmp/convox /usr/local/bin/convox
sudo chmod 755 /usr/local/bin/convox
Linux (x86_64):
curl -L https://github.com/convox/convox/releases/latest/download/convox-linux -o /tmp/convox
sudo mv /tmp/convox /usr/local/bin/convox
sudo chmod 755 /usr/local/bin/convox
Linux (ARM64):
curl -L https://github.com/convox/convox/releases/latest/download/convox-linux-arm64 -o /tmp/convox
sudo mv /tmp/convox /usr/local/bin/convox
sudo chmod 755 /usr/local/bin/convox
Verify the installation:
convox versionGet your CLI key from the Convox Console:
Then authenticate:
convox login console.convox.comEnter your CLI key when prompted.
Clone our pre-configured n8n example that includes everything needed for deployment:
git clone https://github.com/convox-examples/n8n.git
cd n8n
This repository includes:
convox.yml with containerized PostgreSQL databaseCreate your n8n application on the machine:
convox cloud apps create n8n -i <your-machine-name>Before deploying, you'll need to set an encryption key for securing credentials:
convox cloud env set N8N_ENCRYPTION_KEY=$(openssl rand -hex 32) -a n8n -i <your-machine-name>Note: While it's good practice to save this key, you can always retrieve it later from the Convox Console (select your app within the Machine and go to the Environment tab) or via CLI:
convox cloud env -a n8n -i <your-machine-name>Now for the magic moment - deploy n8n with a single command:
convox cloud deploy -a n8n -i <your-machine-name>Watch as Convox:
The deployment typically takes 3-5 minutes.
Once deployment is complete, get your application URL:
convox cloud services -a n8n -i <your-machine-name>You'll see output like:
SERVICE  DOMAIN                                    PORTS
web      web.n8n.abc123.convox.cloud              443:5678
Convox automatically generates this SSL-secured URL for every deployment. Visit it in your browser to access your n8n instance. On first access, you'll be prompted to create an admin account.
Want to use a custom domain? See the Custom Domain section in Advanced Configuration below.
For additional security, enable basic authentication:
convox cloud env set \
  N8N_BASIC_AUTH_ACTIVE=true \
  N8N_BASIC_AUTH_USER=admin \
  N8N_BASIC_AUTH_PASSWORD=$(openssl rand -base64 12) \
-a n8n -i <your-machine-name>In under 10 minutes, you've deployed a production-ready n8n instance with:
Compare this to traditional deployment methods that would require:
Let's look at the economics of running n8n on Convox Cloud versus commercial alternatives:
Zapier Professional Plan: $49/month
Make (Integromat) Pro Plan: $49/month
Convox Cloud X-Small: ~$7/month after free tier
The X-Small machine running 24/7 for a full month (730 hours) costs only about $7 after the free tier - that's 85% less than entry-level professional plans from SaaS providers, with absolutely no execution limits.
As your automation needs grow, Convox Cloud scales with you:
# Upgrade to a Small machine (1 vCPU, 2 GB RAM) - $25/month
convox cloud scale web --cpu 1000 --memory 2048 -a n8n -i <your-machine-name>
For production workloads, consider:
Enable email features for user invites and notifications:
convox cloud env set \
  N8N_SMTP_HOST=smtp.gmail.com \
  N8N_SMTP_PORT=465 \
  N8N_SMTP_SSL=true \
  N8N_SMTP_USER=your-email@gmail.com \
  N8N_SMTP_PASS=your-app-password \
  N8N_SMTP_SENDER=your-email@gmail.com \
-a n8n -i <your-machine-name>The default configuration uses a containerized PostgreSQL database that runs alongside n8n. For production workloads requiring guaranteed persistence and professional database management, you can connect to an external database service.
Coming Soon: We're actively working on fully managed database offerings for Cloud Machines! Soon you'll be able to provision production-grade managed databases directly through Convox Cloud with the same simplicity you've come to expect. Stay tuned for updates in Q4 2025.
Convox automatically creates a DATABASE_URL environment variable based on the linked resource. To use an external database instead:
# Set your external database URL
convox cloud env set DATABASE_URL=postgres://user:pass@your-db-host:5432/n8n -a n8n -i <your-machine-name>

# Redeploy to apply the change
convox cloud deploy -a n8n -i <your-machine-name>
This approach works with any PostgreSQL-compatible database, whether it's a managed cloud service or another self-hosted database you're already running.
If you want to use your own domain instead of the Convox-generated URL:
1. Set the N8N_HOST environment variable with your domain:
convox cloud env set N8N_HOST=automation.yourcompany.com -a n8n -i <your-machine-name>2. Redeploy the application (required because this updates the entry script):
convox cloud deploy -a n8n -i <your-machine-name>3. Get your Convox-generated URL:
convox cloud services -a n8n -i <your-machine-name>4. Create a CNAME record pointing your custom domain to the Convox URL shown in step 3.
Note: You can add or change your custom domain at any time by updating the N8N_HOST variable and redeploying.
Export your workflows regularly:
# Access the n8n UI
# Navigate to Settings → Download
# Select workflows to export
# Save the JSON file securelyn8n is just one example of what you can deploy on Convox Cloud. The same simple deployment process works for:
Check out more examples at github.com/convox-examples.
Convox Cloud represents a fundamental shift in how applications are deployed:
convox.yml works on Cloud or self-hosted RacksRunning into issues or have questions?
With n8n on Convox Cloud, you're not just saving money on automation tools - you're gaining complete control over your workflows and data. The 250 free hours monthly on our X-Small tier gives you room to explore and validate your automation needs before committing to any costs.
Ready to break free from SaaS limitations? Sign up for Convox Cloud and deploy your own n8n instance today. Discover what true automation freedom feels like - your workflows, your data, your way, powered by Convox Cloud.