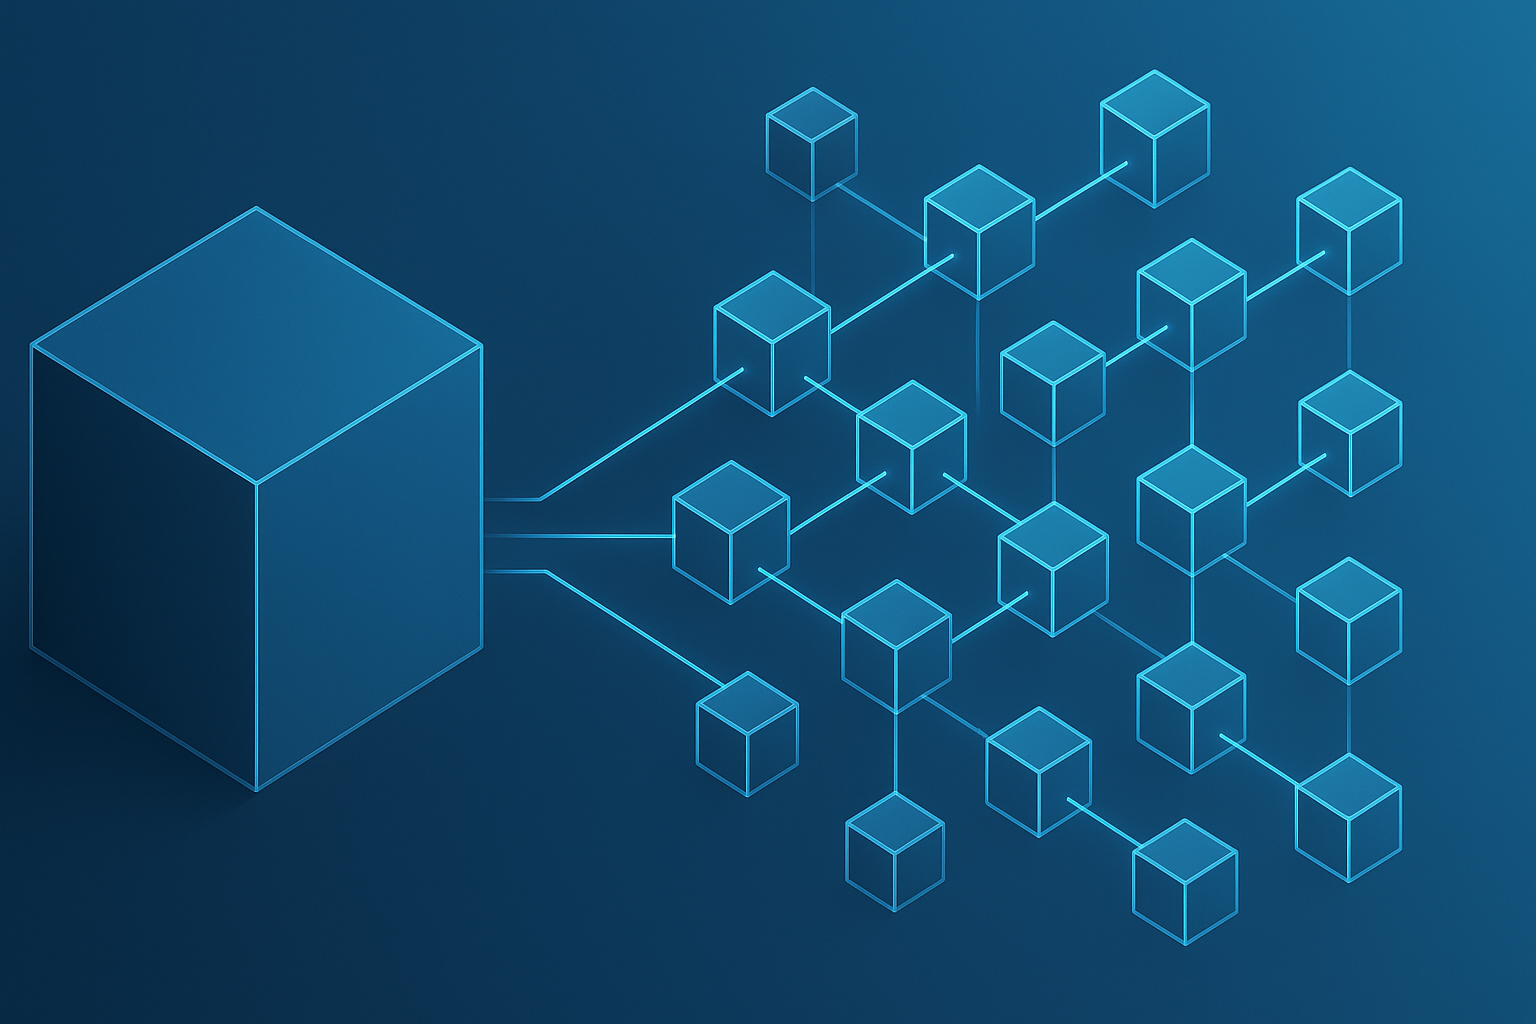
Modern applications often start as monoliths. A single codebase can be easier to develop, deploy, and maintain early on. But as your team grows and user demand increases, monoliths can become bottlenecks—slowing releases, making scaling inefficient, and increasing the blast radius of failures.
Microservices offer a solution: independent services that can scale, deploy, and evolve separately. The challenge is making the transition without disrupting your business. That's where Convox comes in. By providing a consistent deployment environment and simple configuration primitives, Convox helps teams gradually modernize legacy monoliths into microservices with minimal risk.
Benefits of microservices include:
Challenges to prepare for:
Convox provides guardrails—through the convox.yml manifest, built-in service discovery, environment management, automated rolling deployments, and health checks—that simplify these challenges and make incremental migration possible.
Before we dive into the migration, let's set up your Convox platform. Convox provides a powerful yet simple platform that runs in your own AWS, GCP, Azure, or DigitalOcean account.
Head to console.convox.com/signup and create your free account. We recommend using your company email address.
A Runtime Integration connects Convox to your cloud provider account, allowing it to provision and manage infrastructure on your behalf.
The Runtime Integration uses cloud-specific IAM roles and policies to securely manage resources in your account. You maintain full ownership and visibility of all infrastructure.
A Rack is a complete platform installation in your cloud account—think of it as your own private PaaS that includes everything needed to run containerized applications: a Kubernetes cluster, load balancers, SSL management, and more.
Installation typically takes 10-20 minutes. While you wait, you can:
$ convox login console.convox.com -t <your-cli-key>Once your Rack is running, you're ready to deploy your first application!
If your monolith isn't already containerized, start there. Containerization is the foundation for your microservices journey, and it's simpler than you might think.
A Dockerfile is a text file that contains instructions for building your container image. Here are examples for common monolith stacks:
Node.js Monolith Example:
FROM node:18-alpine

# Set working directory
WORKDIR /usr/src/app

# Copy dependency definitions
COPY package*.json ./

# Install dependencies
RUN npm ci --only=production

# Copy application code
COPY . .

# Expose the port your app runs on
EXPOSE 3000

# Start the application
CMD ["node", "server.js"]
Ruby on Rails Monolith Example:
FROM ruby:3.1-alpine

# Install dependencies
RUN apk add --update --no-cache \
    build-base \
    postgresql-dev \
    nodejs \
    yarn

WORKDIR /app

# Install gems
COPY Gemfile Gemfile.lock ./
RUN bundle install --jobs 4

# Copy application
COPY . .

# Precompile assets (for Rails)
RUN bundle exec rails assets:precompile

EXPOSE 3000

CMD ["bundle", "exec", "rails", "server", "-b", "0.0.0.0"]
Python/Django Monolith Example:
FROM python:3.11-slim

# Set environment variables
ENV PYTHONDONTWRITEBYTECODE=1
ENV PYTHONUNBUFFERED=1

WORKDIR /app

# Install dependencies
COPY requirements.txt .
RUN pip install --no-cache-dir -r requirements.txt

# Copy application
COPY . .

EXPOSE 8000

CMD ["python", "manage.py", "runserver", "0.0.0.0:8000"]1. Start Simple: Don't try to optimize everything in your first Dockerfile. Get it working, then improve.
2. Handle Environment Variables: Your monolith likely has many configuration settings. Use environment variables:
# Don't hardcode values
ENV DATABASE_URL=${DATABASE_URL}
ENV API_KEY=${API_KEY}
3. Manage Secrets Properly: Never include secrets in your Dockerfile. Convox will inject them via environment variables:
# In your convox.yml
environment:
  - DATABASE_URL
  - API_KEY
  - SESSION_SECRET
4. Optimize Build Times: Use Docker's layer caching by copying dependency files first:
# Good - dependencies cached separately
COPY package.json package-lock.json ./
RUN npm install
COPY . .

# Bad - any code change invalidates npm install cache
COPY . .
RUN npm install
5. Consider Multi-Stage Builds for compiled languages or asset building:
# Build stage
FROM node:18-alpine AS builder
WORKDIR /app
COPY package*.json ./
RUN npm ci
COPY . .
RUN npm run build

# Runtime stage
FROM node:18-alpine
WORKDIR /app
COPY --from=builder /app/dist ./dist
COPY --from=builder /app/node_modules ./node_modules
EXPOSE 3000
CMD ["node", "dist/server.js"]
6. Test Locally First: Before deploying to Convox, test your container locally:
# Build the image
$ docker build -t myapp .

# Run it locally
$ docker run -p 3000:3000 myapp

# Test with environment variables
$ docker run -p 3000:3000 -e DATABASE_URL=postgres://localhost/myapp myapp0.0.0.0 not localhost inside containersOnce you have your Dockerfile ready, create your Convox application:
First, create your application in Convox:
$ convox apps create myapp -r myrack
Creating myapp... OK
Then create a minimal convox.yml:
services:
  web:
    build: .
    port: 3000
    health: /health
    scale:
      count: 2
      cpu: 512
      memory: 1024
resources:
  mydb:
    type: postgres
    options:
      storage: 100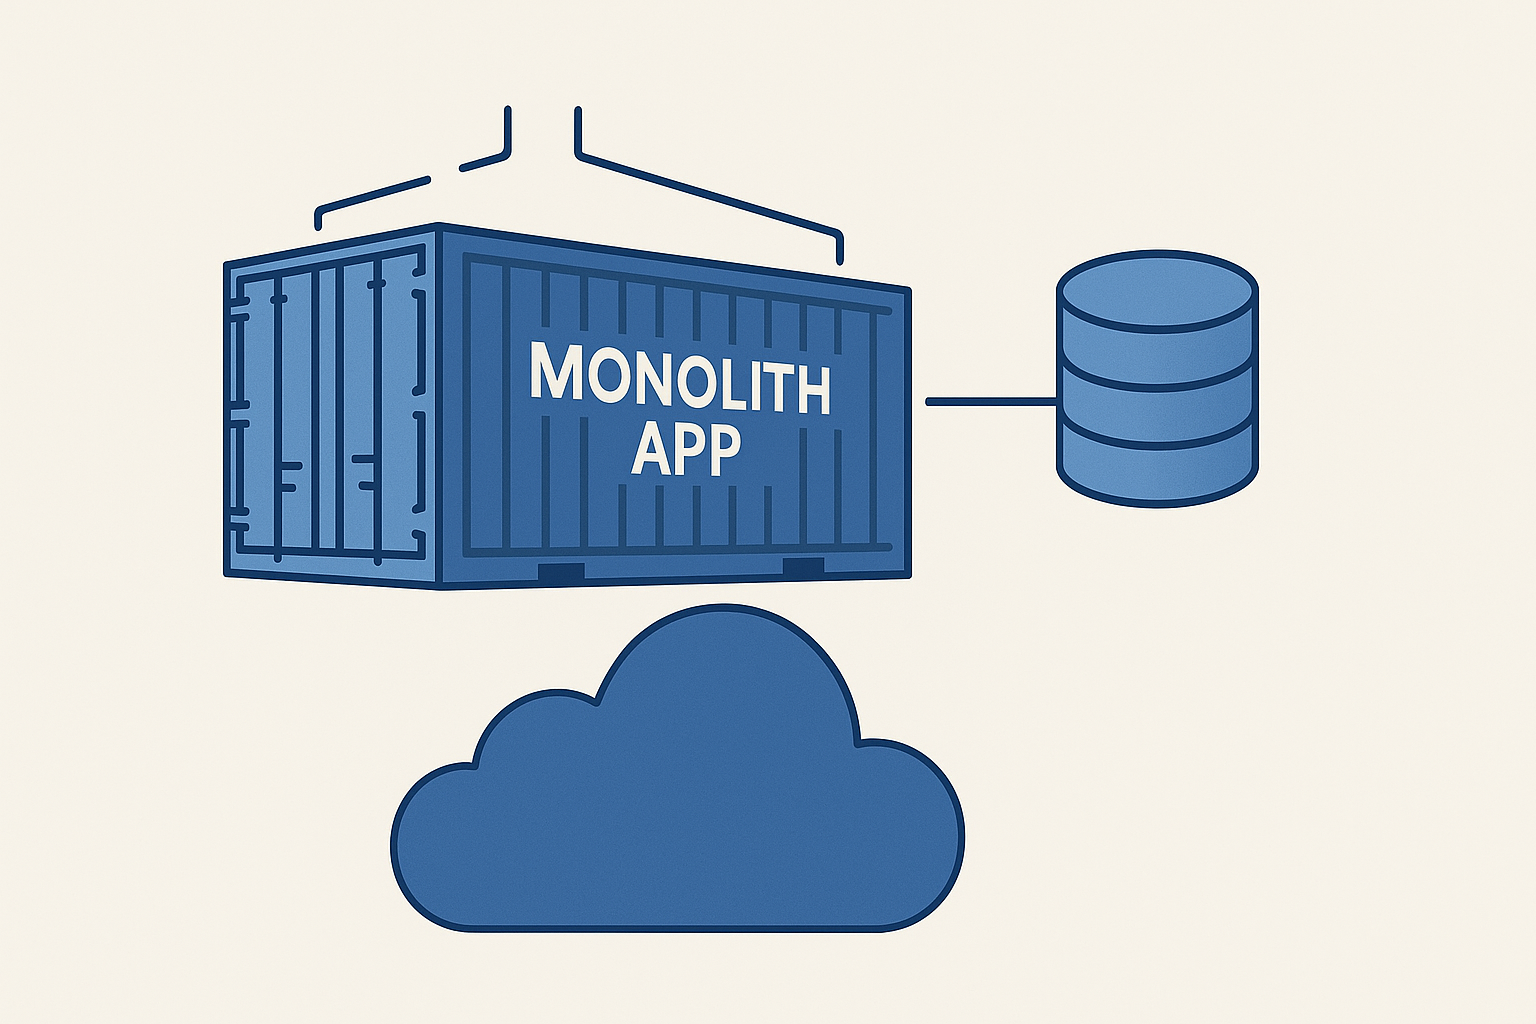
Key points:
web service is your entire monolithmydb resource provisions a PostgreSQL database - by default, this creates a containerized Postgres instance perfect for development and testingMYDB_URL, MYDB_HOST, etc.)The containerized Postgres shown above is ideal for getting started quickly, but Convox also supports fully managed databases for production workloads:
When you're ready for production, simply change your resource type to use AWS RDS:
resources:
  mydb:
    type: rds-postgres  # Fully managed AWS RDS
    options:
      class: db.t3.medium
      storage: 100
      encrypted: true
      backupRetentionPeriod: 7
      deletionProtection: true
Convox supports both containerized and managed versions of:
The best part? Your application code doesn't change - Convox injects the same environment variables regardless of whether you're using containerized or managed resources. This lets you start cheap and simple, then scale up to managed services when needed.
At this stage, you haven't changed your application—just the way it's deployed. You now have a stable baseline for modernization with automated deployments, rolling updates, and built-in monitoring through convox logs.
Look at your monolith and identify logical modules that could become microservices. Common starting points include:
Think in terms of bounded contexts—pieces of the app that can operate with minimal coupling. Use your application logs (convox logs -a myapp) to understand traffic patterns and dependencies.
Let's say notifications are the first target. You can split them into a new service while the monolith continues handling everything else.
Update your convox.yml:
services:
  web:
    build: .
    port: 3000
    health: /health
    environment:
      - NOTIFICATIONS_URL
    scale:
      count: 2-5
      targets:
        cpu: 70

  notifications:
    build: ./notifications
    port: 4000
    internal: true
    health: /health
    scale:
      count: 1-3
      targets:
        memory: 80

resources:
  mydb:
    type: postgres
    options:
      storage: 100

  queue:
    type: redis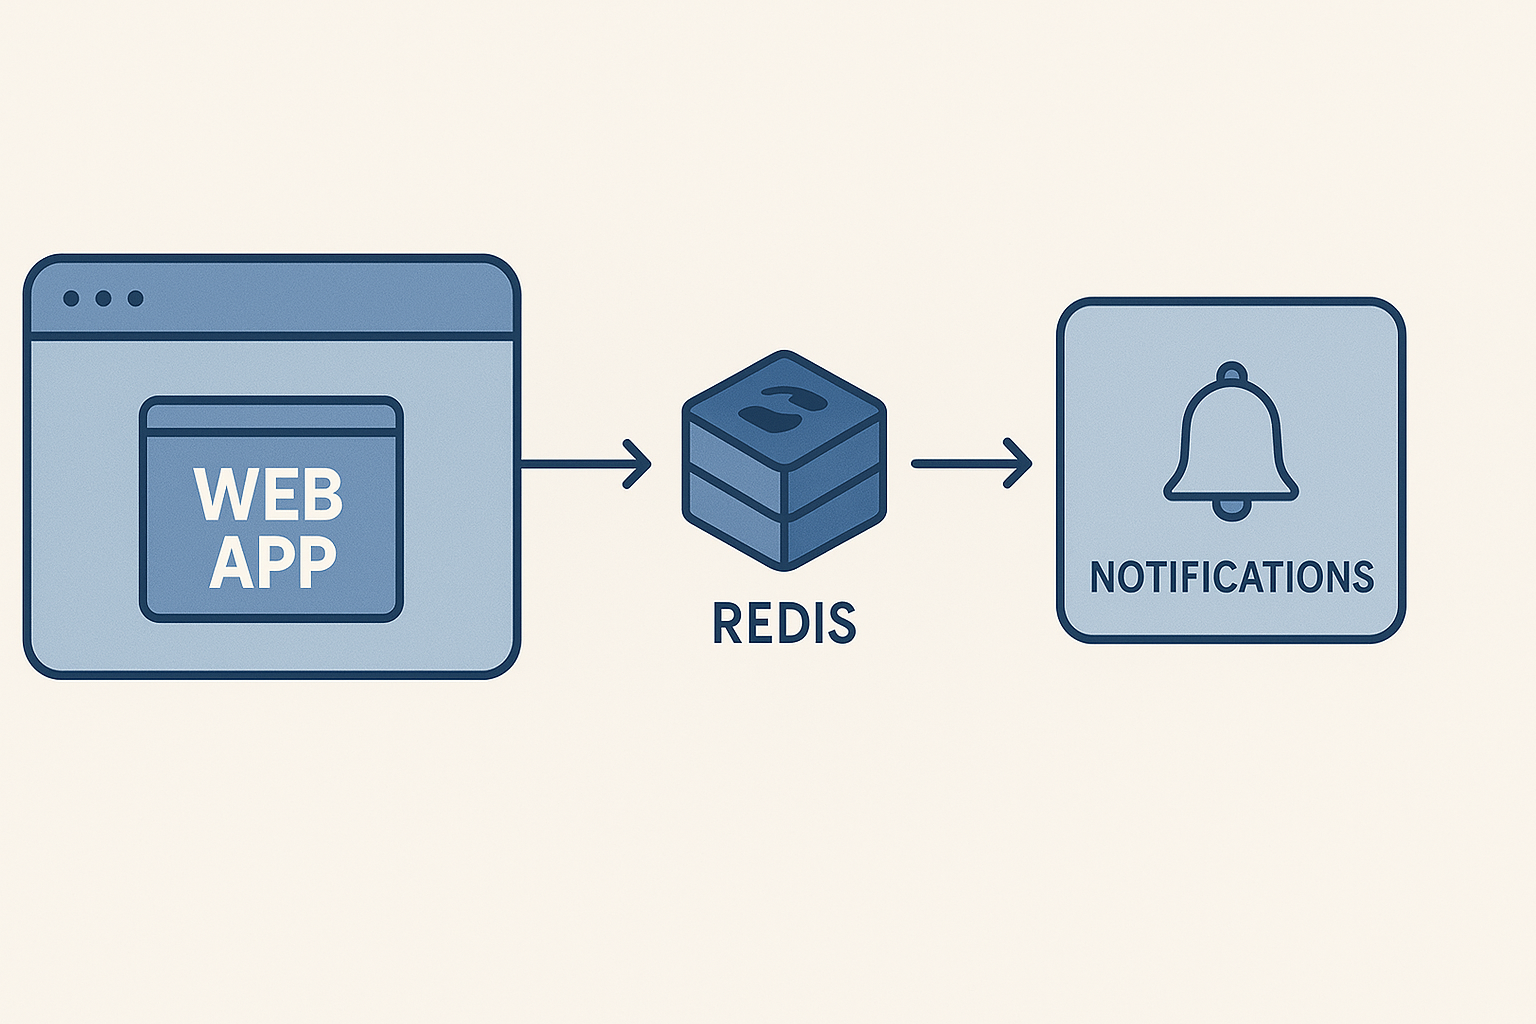
Important features:
internal: true ensures the notifications service is only accessible within the rackweb service can reach notifications at http://notifications.myapp.convox.local:4000mydb)First create the notifications app if it's separate, or deploy the updated configuration:
$ convox deploy -a myappIf something goes wrong, instant rollback is available:
$ convox releases rollback RBCDEFGHIJ -a myappOne of the hardest parts of microservices migration is dealing with the database. Initially, multiple services may still talk to the same schema. That's okay in the early stages, but over time you'll want to assign ownership of data to specific services.
Convox resources make this flexible:
Use containerized databases for fast iterations:
resources:
  mydb:
    type: postgres
    options:
storage: 20Switch to managed AWS RDS for production with resource overlays:
$ convox env set MYDB_URL=postgres://user:pass@prod-db.amazonaws.com:5432/db -r productionThis overrides the containerized resource with your production database without changing code.
As your services mature, give each its own database:
services:
  web:
    resources:
      - webdb
  notifications:
    resources:
      - notificationdb

resources:
  webdb:
    type: rds-postgres
    options:
      class: db.t3.medium
      storage: 100
      encrypted: true

  notificationdb:
    type: rds-postgres
    options:
      class: db.t3.small
storage: 50Once you have multiple services, scaling becomes service-specific. A worker service processing jobs may need many replicas, while an API service might need fewer but with more CPU.
$ convox scale notifications --count 5 --cpu 256 --memory 512 -a myappDefine autoscaling in your convox.yml:
services:
  notifications:
    scale:
      count: 1-10
      targets:
        cpu: 70
memory: 90For advanced autoscaling based on business metrics:
services:
  notifications:
    scale:
      count: 1-5
      targets:
        external:
          - name: "datadogmetric@default:notification-queue-depth"
averageValue: 100Convox provides comprehensive logging and monitoring. As you break apart your monolith, service-level logging becomes crucial:
# View all logs for your application
$ convox logs -a myapp

# Focus on specific service logs when debugging
$ convox logs -a myapp -s notifications

# View only web service logs with timestamps
$ convox logs -a myapp -s web --since 1h

# Follow logs in real-time for a specific service
$ convox logs -a myapp -s notifications --follow

# Filter logs for specific text patterns
$ convox logs -a myapp --filter error

# Real-time metrics (requires rack monitoring enabled)
$ convox rack params set monitoring=true -r myrack
This service-level log filtering is invaluable during migration—you can isolate issues to specific services without wading through the entire application's log stream.
Route specific functionality to new services while the monolith continues to serve everything else. Use path-based routing:
services:
  web:
    domain: myapp.com
    port: 3000

  notifications:
    domain: myapp.com
    port: 4000
# Route /api/notifications/* to this serviceBegin with:
timers:
  cleanup:
    schedule: "0 3 * * *"
    command: bin/cleanup
service: workerUse internal: true and test thoroughly before exposing services externally. This provides a safety net during development.
Every service should have proper health checks to ensure smooth deployments:
services:
  notifications:
    health:
      path: /health
      interval: 10
      timeout: 3
grace: 30Use Convox's built-in service discovery for internal communication:
http://servicename.appname.convox.local:portconvox servicesIntegrate Convox with your CI/CD pipeline:
# In your CI pipeline
$ convox test -a myapp
$ convox deploy -a myapp --waitPlan for how you'll transition from a shared database to service-specific databases over time. Use database migrations carefully and consider event-driven architectures for data synchronization.
Create parallel environments for zero-downtime migrations:
# Deploy new microservices architecture to staging
$ convox apps create myapp-new -r staging
$ convox deploy -a myapp-new

# Test thoroughly, then switch production
$ convox apps create myapp-new -r production
$ convox deploy -a myapp-new

# Update DNS to point to new appGradually roll out microservices using feature flags in your application code, allowing you to toggle between monolith and microservice implementations.
Implement circuit breakers in your services to handle failures gracefully when dependent services are unavailable.
convox.yml defines all services, resources, timers, and configurations in one fileconvox env) keeps configuration consistent across servicesConvox provides the consistency needed to run both a legacy monolith and new microservices side by side, easing the complexity of hybrid architectures.
Consider an e-commerce monolith with these components:
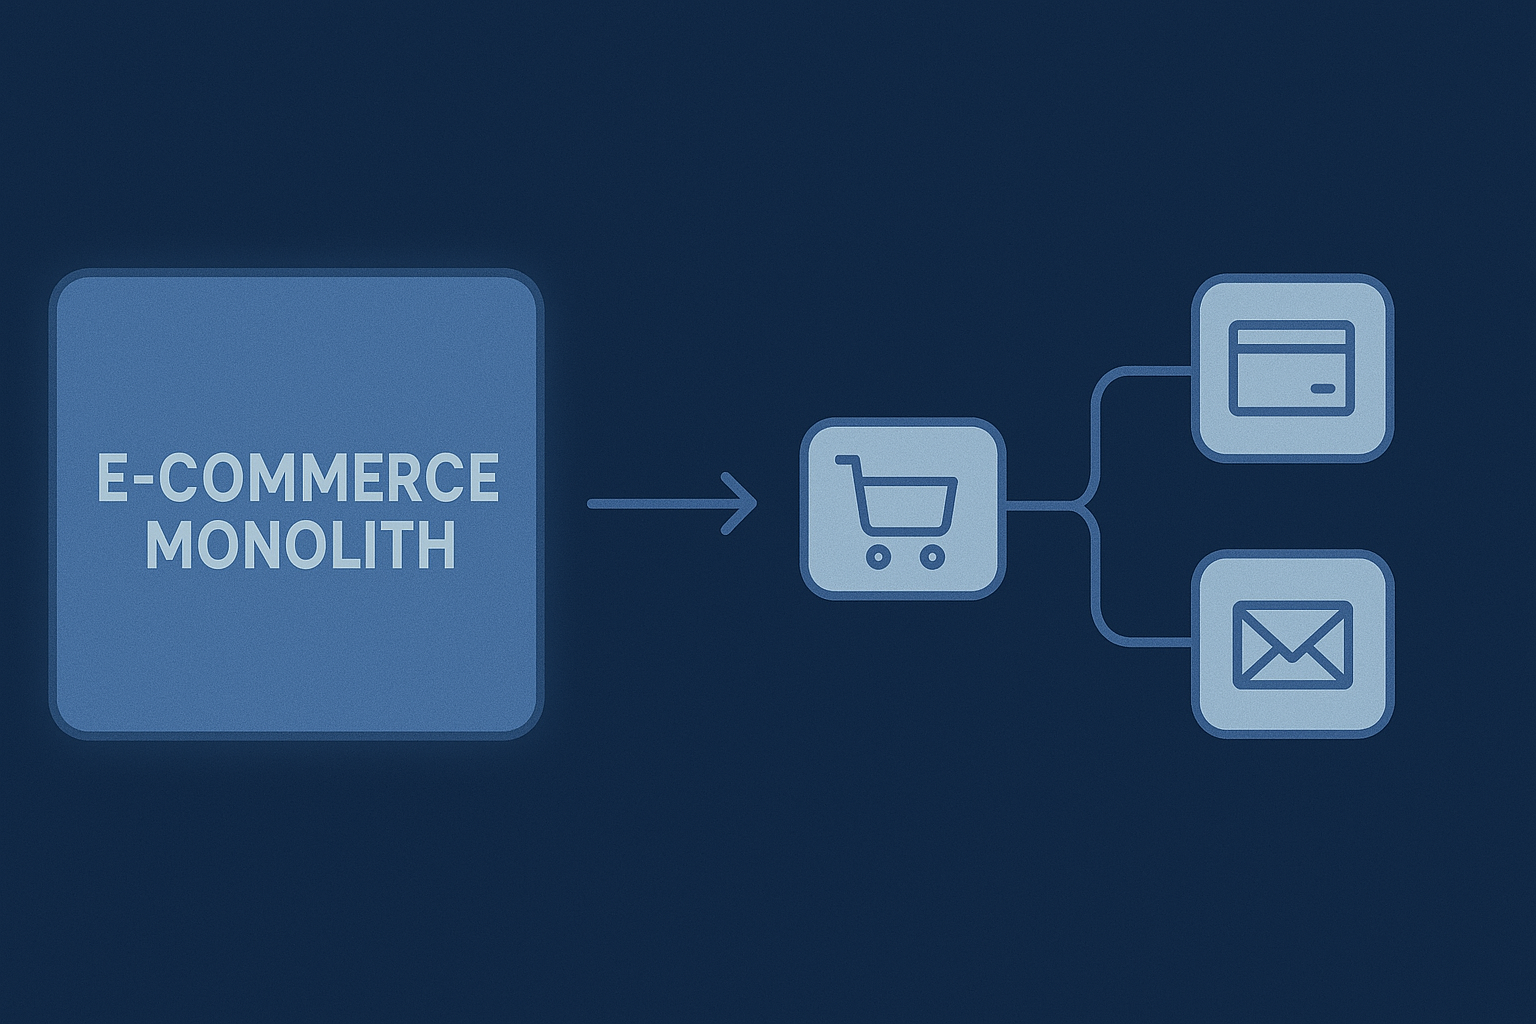
Here's how you might progressively extract services:
services:
  web:
    build: .
    port: 3000
    environment:
      - EMAIL_SERVICE_URL=http://email.ecommerce.convox.local:4000

  email:
    build: ./services/email
    port: 4000
    internal: true
    resources:
- queueservices:
inventory:
build: ./services/inventory
port: 5000
internal: true
scale:
count: 2-10
targets:
cpu: 60services:
payments:
build: ./services/payments
port: 6000
internal: true
environment:
- STRIPE_KEY
- PAYMENT_ENCRYPTION_KEY
health:
path: /health
timeout: 10
scale:
cpu: 1024
memory: 2048Each service can be developed, deployed, and scaled independently while maintaining the monolith's core functionality.
Track your migration progress with Convox's built-in monitoring and alerting capabilities:
In the Convox Console:
Once enabled, Convox automatically creates default panels that provide immediate visibility:
These panels give you baseline metrics to track how your migration affects resource usage.
Navigate to V3 Dashboard in the Metrics section to create panels specific to your migration:
Using Smart Queries (Recommended for ease):
Using Custom PromQL Queries (for advanced users):
Configure alerts in the Alert Manager to catch issues during migration:
Example alert for monitoring a newly extracted service:
Monitor how often each service is deployed—more frequent deployments per service (compared to your monolith) indicate successful decomposition and team autonomy.
Migrating from a monolith to microservices doesn't have to be an all-or-nothing proposition. With Convox, you can start by containerizing your existing app, gradually peel off services, and run both architectures together during the transition.
By taking a phased approach—and leveraging Convox features like declarative manifests, automatic service discovery, managed resources, and rolling deployments—you reduce migration risk while modernizing your architecture at your own pace.
The journey from monolith to microservices is unique for every organization, but with Convox's consistent platform and powerful primitives, you have the tools to make it successful.
Breaking up a monolith is challenging, but it doesn't have to be overwhelming. Convox gives you the infrastructure automation and deployment simplicity you need to migrate confidently, without sacrificing control or adding operational overhead.
Get Started Free with Convox and see how straightforward microservices can be when your platform handles the complexity. Join thousands of teams who've successfully modernized their applications with Convox's battle-tested platform. Every new account includes free onboarding support to ensure you're productive from day one.
Your monolith has served you well, but your business is ready for more—faster deployments, better scalability, and increased resilience. With Convox, you get the power of microservices without the infrastructure headaches, all running securely in your own cloud account.
Ready to dive deeper? Follow our interactive onboarding guide to deploy your first service in minutes, explore our comprehensive documentation for detailed migration patterns and best practices, or reach out to our team to discuss your specific migration strategy. Whether you're extracting your first service or orchestrating dozens, Convox is here to make your microservices migration a success story—not a cautionary tale.