
It is 3am. Your phone buzzes with an alert: staging is down. You pull up your laptop, half-asleep, and start debugging. Thirty minutes later you realize the issue is a configuration mismatch. Someone updated an environment variable in production last week but never propagated it to staging. Now the staging database connection is pointing at an endpoint that no longer exists. You fix it, deploy, and crawl back to bed.
Two hours later, another alert. Production this time. Different problem, same root cause: your staging fix introduced a change that was never tested against production's actual configuration. The environments have drifted so far apart that fixing one breaks assumptions about the other.
If you are the only person managing infrastructure for a 10 to 30 person engineering team, this scenario is not hypothetical. It is your life. You maintain staging and production environments, probably a development environment too, and you do it alone. Every context switch between environments carries cognitive overhead. Every manual step is an opportunity for drift. And hiring a second ops engineer is not in the budget.
The good news: this problem is solvable without a second hire. The solution is not working harder or being more careful. It is adopting tooling that makes managing multiple environments as simple as adding a flag to a command.
Most teams start with a single environment. Production. Everything lives there because shipping fast matters more than process. Eventually, someone breaks production with an untested change, and the team adds a staging environment. Now you have two of everything: two sets of servers, two databases, two configurations, two deployment scripts.
At first, this feels manageable. You copy the production setup, tweak a few values, and staging is live. But over time, the environments diverge. Production gets a security patch that staging misses. Staging gets a new feature flag that production does not have. Someone updates the database connection string in production using a different method than staging. Six months later, your two environments share a name and little else.
The symptoms are predictable:
The core problem is that environments are treated as separate systems that happen to run similar code. They should be treated as identical systems with different configurations. When your tooling enforces this model, managing multiple environments stops being multiplicative work.

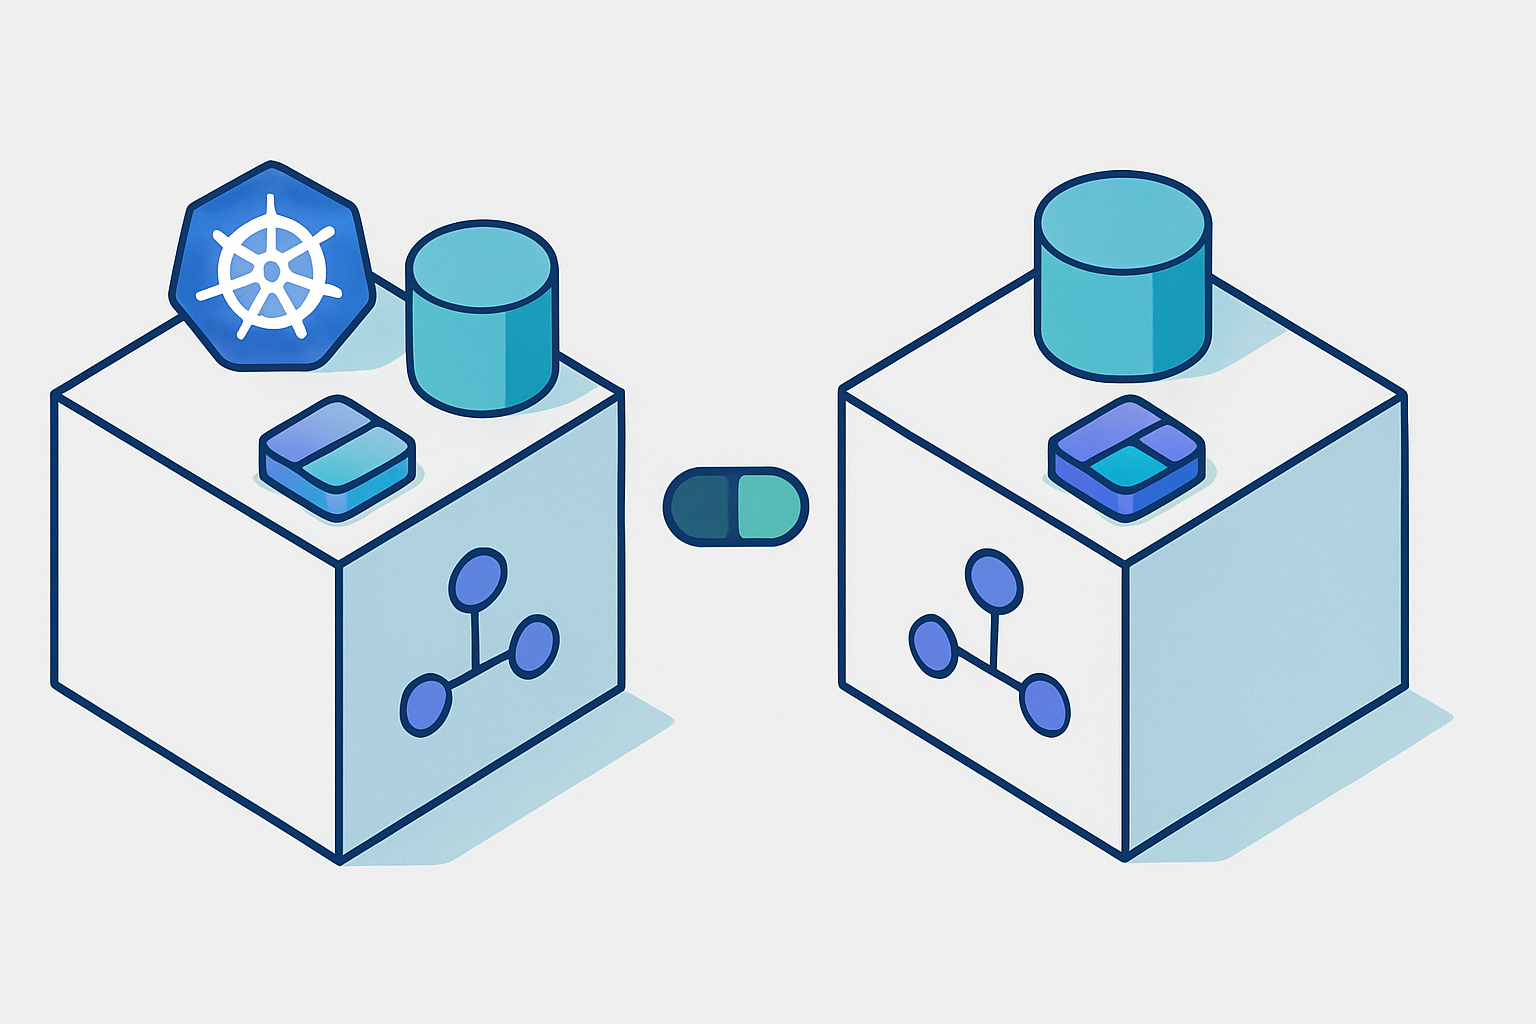
In Convox, a Rack is a complete, isolated deployment environment. It includes the Kubernetes cluster, networking, load balancers, container registry, and all the infrastructure needed to run your applications. When you install a Rack, you get an entire environment ready to receive deployments.
The key insight is that every Rack is identical in capability. A staging Rack and a production Rack use the same architecture, the same deployment primitives, and the same CLI commands. The only differences are the configuration values you choose to set and the infrastructure sizing you configure through Rack Parameters.
This means learning one workflow teaches you all workflows. There is no staging-specific deployment process to remember. There is no production-only configuration format. You deploy to staging the same way you deploy to production, just targeting a different Rack. This uniformity is what makes single-person multi-environment management sustainable.
Installing a Rack is a single command. For AWS, you would run:
$ convox rack install aws staging
$ convox rack install aws production
Each command provisions a complete Kubernetes cluster in your AWS account. Staging and production run in separate VPCs with separate resources. There is no shared state between them, which means an incident in staging cannot affect production infrastructure.
You can verify your Racks are running with:
$ convox racks
NAME               PROVIDER  STATUS
staging            aws       running
production         aws       running
For production workloads, you will want to customize the Rack configuration. Production typically needs larger instance types and higher availability settings:
$ convox rack params set node_type=t3.large high_availability=true -r productionStaging can use smaller instances to keep costs down while still providing a realistic testing environment. The AWS Rack Parameters documentation covers all available options.
Every Convox CLI command accepts a -r flag to specify which Rack to target. This is the foundation of multi-environment management. There are no environment-specific commands to learn. The same command structure works everywhere.
Create an app on staging:
$ convox apps create myapp -r stagingCreate the same app on production:
$ convox apps create myapp -r productionDeploy to staging:
$ convox deploy -a myapp -r stagingDeploy to production:
$ convox deploy -a myapp -r productionCheck logs on either environment:
$ convox logs -a myapp -r staging --since 1h
$ convox logs -a myapp -r production --since 1h
Scale services:
$ convox scale web --count=3 -a myapp -r productionThe pattern is consistent across every operation. Once you internalize "add -r rackname to target an environment," you can manage any number of environments without additional mental overhead.
Config drift starts with environment variables. Someone updates DATABASE_URL in production but forgets staging. Or staging gets a new feature flag that never makes it to production. Before long, the environments are running different configurations and bugs slip through.
Convox's environment variable management uses the same -r flag pattern:
$ convox env -a myapp -r staging
DATABASE_URL=postgres://staging-db.example.com/myapp
REDIS_URL=redis://staging-redis.example.com:6379
LOG_LEVEL=debug

$ convox env -a myapp -r production
DATABASE_URL=postgres://production-db.example.com/myapp
REDIS_URL=redis://production-redis.example.com:6379
LOG_LEVEL=info
To add a new variable to both environments:
$ convox env set NEW_FEATURE_FLAG=true -a myapp -r staging
$ convox env set NEW_FEATURE_FLAG=true -a myapp -r production
The key to maintaining parity is having a single source of truth for which variables should exist. Keep a list of all environment variables your app expects, with notes on which values differ between environments. When you add a new variable, update both environments in sequence.
For variables that should be identical across environments (feature flags, API versions, non-sensitive configuration), consider using default values in your convox.yml. Variables defined in the manifest become the baseline that environment-specific values can override.
The safest deployment pattern is building once and promoting the exact same artifact across environments. When you build different images for staging and production, you introduce the possibility that the production build behaves differently than what you tested.
Convox Releases make this pattern straightforward. Every deployment creates a Release with a unique ID. You can export a Release from one Rack and import it to another:
# Deploy to staging first
$ convox deploy -a myapp -r staging
Build: BABCDEFGHI
Release: RSTAGING123

# Verify staging works, then export and import to production
$ convox builds export BABCDEFGHI -a myapp -r staging | convox builds import -a myapp -r production
Exporting build BABCDEFGHI... OK
Importing build... OK
Build: BABCDEFGHI
Release: RPROD456

# Promote the release in production
$ convox releases promote RPROD456 -a myapp -r production
This workflow guarantees that production runs the exact same container image that passed testing in staging. The only differences are the environment variables specific to each Rack.
For teams that want to move faster, you can also deploy directly to both environments from CI. The key is ensuring that staging deploys complete and pass tests before production deploys begin.
The Convox CLI works in any CI environment. You authenticate using a Deploy Key, which is a limited-scope API key specifically designed for automated deployments.
Here is a GitHub Actions workflow that deploys to staging automatically on every push to main, then waits for manual approval before deploying to production:
name: Deploy

on:
  push:
    branches: [main]

env:
  CONVOX_HOST: console.convox.com
  CONVOX_PASSWORD: ${{ secrets.CONVOX_DEPLOY_KEY }}

jobs:
  deploy-staging:
    runs-on: ubuntu-latest
    steps:
      - uses: actions/checkout@v4

      - name: Install Convox CLI
        run: |
          curl -L https://github.com/convox/convox/releases/latest/download/convox-linux -o /tmp/convox
          sudo mv /tmp/convox /usr/local/bin/convox
          sudo chmod 755 /usr/local/bin/convox

      - name: Deploy to Staging
        run: convox deploy -a myapp -r staging

      - name: Run Integration Tests
        run: |
          STAGING_URL=$(convox services -a myapp -r staging | grep web | awk '{print $2}')
          curl -f https://$STAGING_URL/health || exit 1

  deploy-production:
    needs: deploy-staging
    runs-on: ubuntu-latest
    environment: production
    steps:
      - uses: actions/checkout@v4

      - name: Install Convox CLI
        run: |
          curl -L https://github.com/convox/convox/releases/latest/download/convox-linux -o /tmp/convox
          sudo mv /tmp/convox /usr/local/bin/convox
          sudo chmod 755 /usr/local/bin/convox

      - name: Export Build from Staging
        run: |
          BUILD_ID=$(convox builds -a myapp -r staging | head -2 | tail -1 | awk '{print $1}')
          convox builds export $BUILD_ID -a myapp -r staging > build.tgz

      - name: Import and Deploy to Production
        run: |
          convox builds import -a myapp -r production < build.tgz
          RELEASE_ID=$(convox releases -a myapp -r production | head -2 | tail -1 | awk '{print $1}')
          convox releases promote $RELEASE_ID -a myapp -r production
The environment: production line in the production job tells GitHub Actions to require approval before running. Configure this in your repository settings under Environments.
This workflow achieves several goals:
For teams using Convox Workflows, you can configure similar behavior directly in the Convox Console without writing YAML. Workflows support review apps, automatic deployments, and manual promotion gates through a visual interface.
The difference in operational overhead becomes clear when you compare the traditional approach to managing multiple environments against Convox's unified model:
| Concern | Traditional Approach | Convox Multi-Rack |
|---|---|---|
| Environment Setup | Manually configure separate clusters, registries, load balancers, and networking for each environment | convox rack install aws staging |
| Deployment | Different scripts or pipelines per environment, often with environment-specific configurations baked into deployment tooling | Same command with -r flag |
| Env Variables | Stored in different systems (AWS Secrets Manager for prod, dotenv files for staging, etc.) | convox env -r staging |
| Logs | Different logging solutions or dashboards per environment | convox logs -r production |
| Learning Curve | Multiplicative: each new environment adds new tools to learn | Constant: learn once, apply everywhere |
The traditional approach requires you to maintain expertise in multiple systems. Every new environment adds operational burden. With Convox, adding a third environment (maybe a QA rack or a demo environment for sales) is a single convox rack install command. The workflows you built for staging and production work identically.
After managing multiple environments on your own, a few patterns emerge that save time and prevent mistakes:
Use shell aliases or scripts for common operations. If you find yourself typing the same long commands repeatedly, wrap them in aliases:
# Add to your .bashrc or .zshrc
alias staging='convox -r staging'
alias production='convox -r production'

# Now you can run:
$ staging deploy -a myapp
$ production logs -a myapp --since 1h
Always specify the rack explicitly. Avoid relying on convox switch to set a default rack. It is too easy to forget which rack is currently selected and accidentally deploy to production when you meant staging. The explicit -r flag prevents this class of mistakes entirely.
Keep environment variables documented. Maintain a simple document listing every environment variable your app uses, which environments need it, and what the expected value format is. When debugging 3am incidents, you will thank yourself for this documentation.
Test your rollback process before you need it. Practice using convox releases rollback on staging so you know exactly what to do when production needs an emergency rollback. The rollback documentation covers the process in detail.
If you are currently managing multiple environments with different tools, scripts, and processes, migrating to a unified model takes some upfront investment. But the ongoing time savings compound quickly. Every deployment, every debugging session, every environment setup becomes faster.
Start by installing the Convox CLI and setting up a staging Rack. Deploy your existing application and verify it works. Once you are comfortable with the workflow, add a production Rack and set up your CI/CD pipeline. The Getting Started Guide walks through the initial setup in detail.
For teams already using Convox with a single Rack, adding a second environment is straightforward. Run convox rack install, create your app, set the environment variables, and deploy. Your existing convox.yml and Dockerfile work without modification.
Create a free Convox account and install your first Rack. The basic workflow of deploy, logs, and scale takes about 15 minutes to learn. From there, adding a second Rack and building out your multi-environment workflow is incremental.
For teams with compliance requirements or complex infrastructure needs, contact our team to discuss how Convox handles HIPAA, SOC 2, and enterprise deployment patterns.
You do not need a second ops engineer to manage multiple environments properly. You need tooling that makes the work additive instead of multiplicative. Convox provides exactly that.