
For SaaS startups with limited DevOps resources, deploying production-ready infrastructure remains one of the biggest hurdles to early growth. This guide shows how you can deploy a complete application stack in under an hour using Convox, with built-in security, scaling, and operational best practices.
If you're building a SaaS product, you've likely experienced this scenario: Your development team has created a fantastic application with market-ready features, but deploying it to production involves navigating a labyrinth of cloud infrastructure decisions.
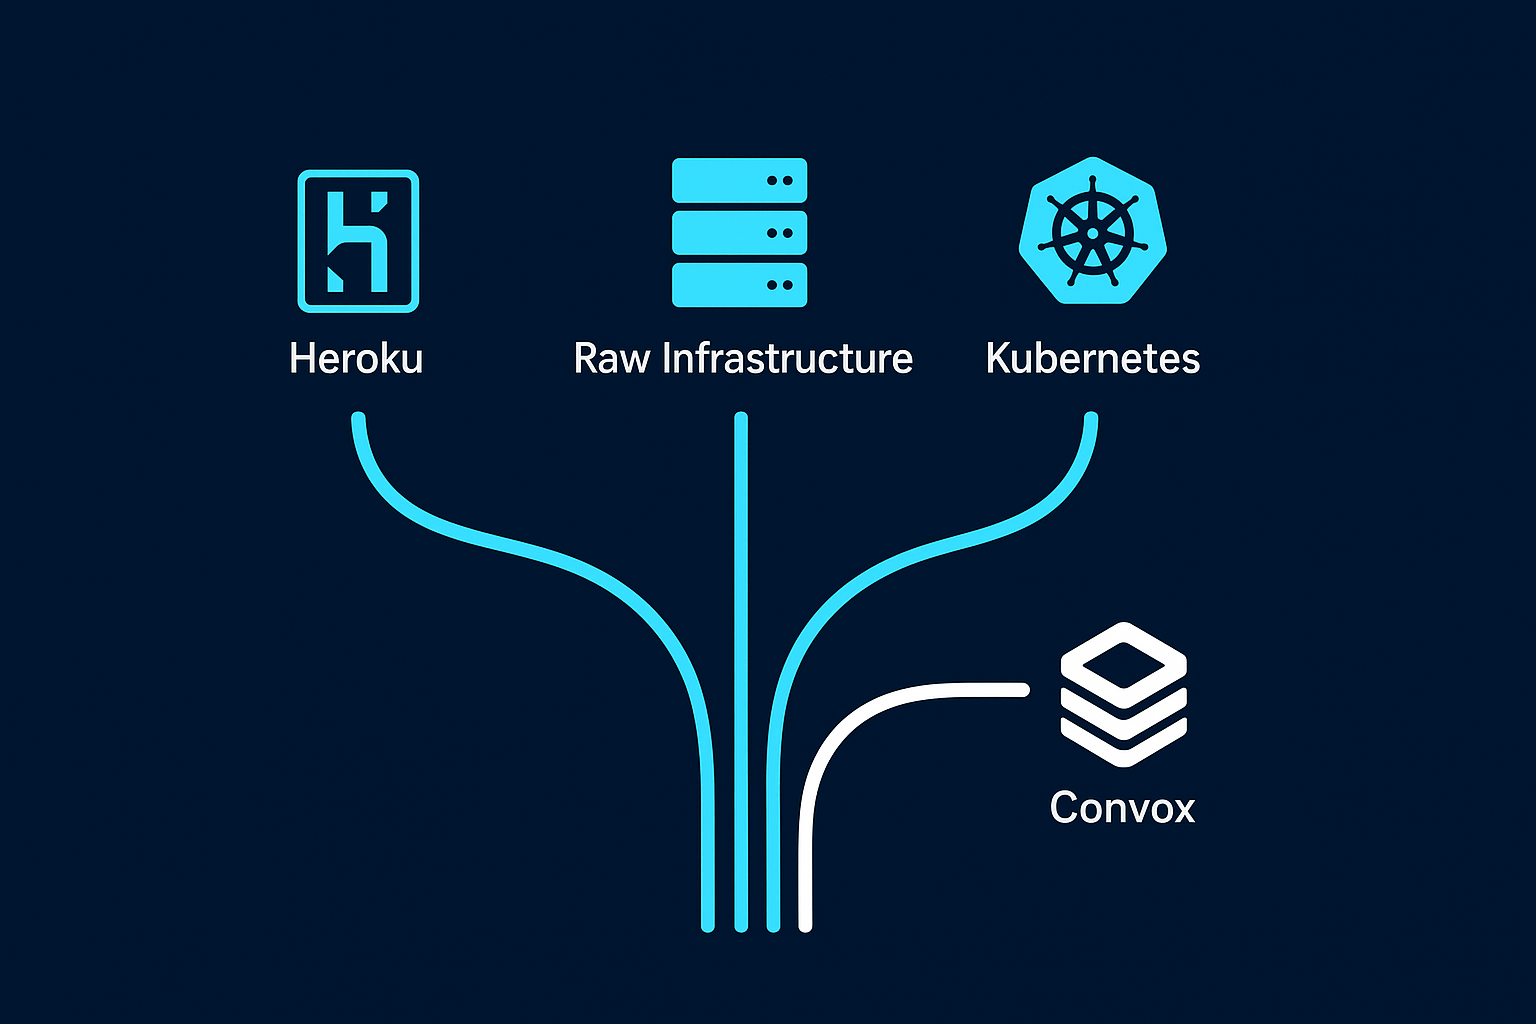
The options typically look like this:
For startups this presents a real dilemma. You're not quite ready to hire dedicated DevOps specialists, but you need production-grade infrastructure that can scale with your business. According to the 2023 DORA (DevOps Research and Assessment) report, teams that effectively implement DevOps practices are 1.4x more likely to meet or exceed their organizational performance goals—yet smaller teams often lack the resources to implement these practices effectively.
In this guide, we'll show you how Convox bridges this gap, allowing you to deploy a complete application stack in under an hour, with all the DevOps best practices baked in.
We'll deploy a standard three-tier application architecture:
This pattern accommodates most SaaS applications and demonstrates the capabilities of a complete production deployment.
Before we begin, make sure you have:
Unlike most platforms, Convox lets you own your infrastructure from day one. This means better security, performance, and cost control.
node_type or high_availabilityThis process typically takes 10-15 minutes while Convox provisions your infrastructure. During this time, Convox is creating a Kubernetes cluster, networking configuration, security groups, load balancers, and all the components needed for a production environment.
While your infrastructure provisions, let's prepare our application. Every application deployed on Convox needs two key files:
If you already have a Dockerfile, you can use it directly. If not, here's a simple example for a Node.js application:
FROM node:14-alpine

WORKDIR /app
COPY package*.json ./
RUN npm install
COPY . .

EXPOSE 3000
CMD ["node", "app.js"]
For other languages or frameworks, check out Convox's example apps or Dockerfile guide.
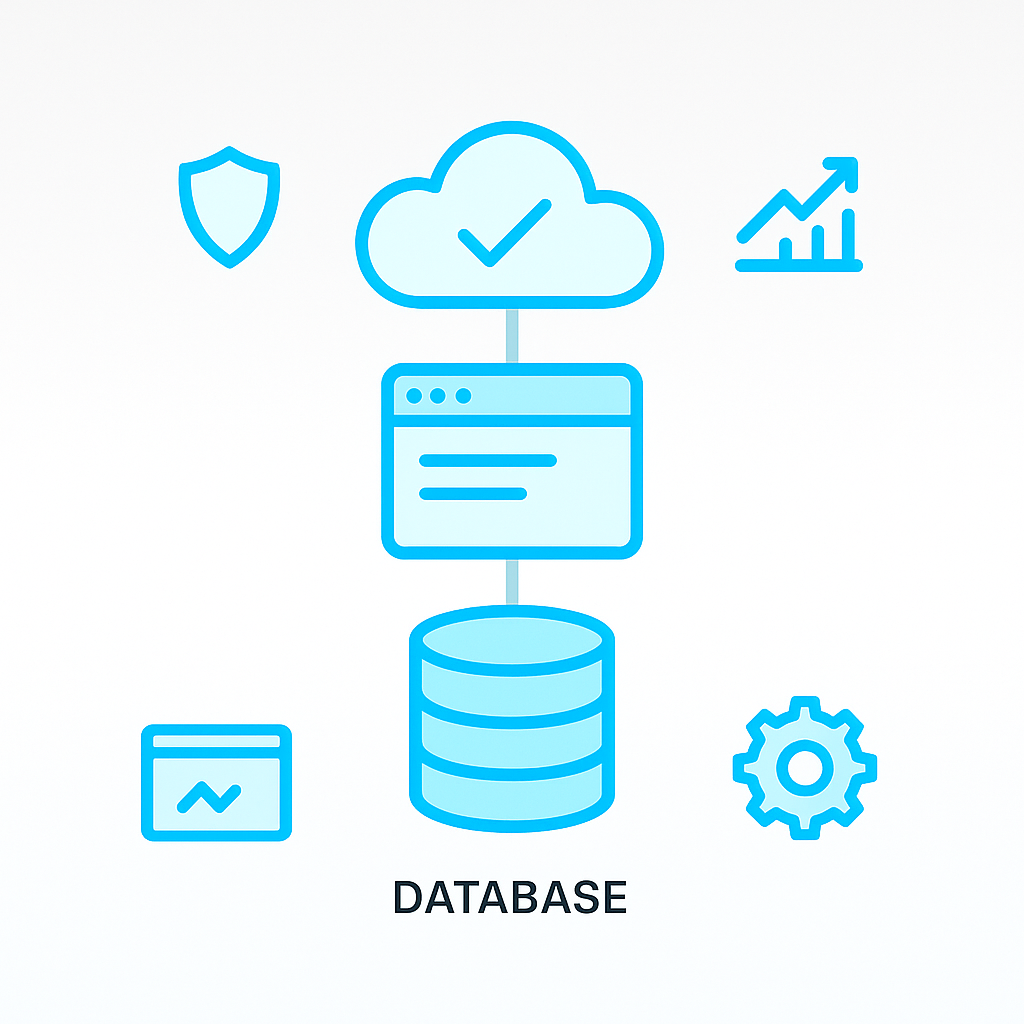
The convox.yml manifest describes the components of your application. Here's a simple example for a web service with a PostgreSQL database:
environment:
  - NODE_ENV=production
resources:
  database:
    type: postgres
    # Full database configuration options available:
    # options:
    #   version: 13
    #   storage: 100
    #   class: db.t3.large
    #   encrypted: true
    #   durable: true
services:
  web:
    build: .
    port: 3000
    resources:
      - database
  worker:
    build: .
    command: node worker.js
    resources:
      - database
This configuration includes:
Note: Convox offers extensive configuration options for resources like PostgreSQL. You can specify database version, storage capacity, instance class, encryption, high availability, and more. For AWS deployments, you can even use RDS-managed databases instead of containerized ones. See the Resource documentation for all available PostgreSQL configuration options.
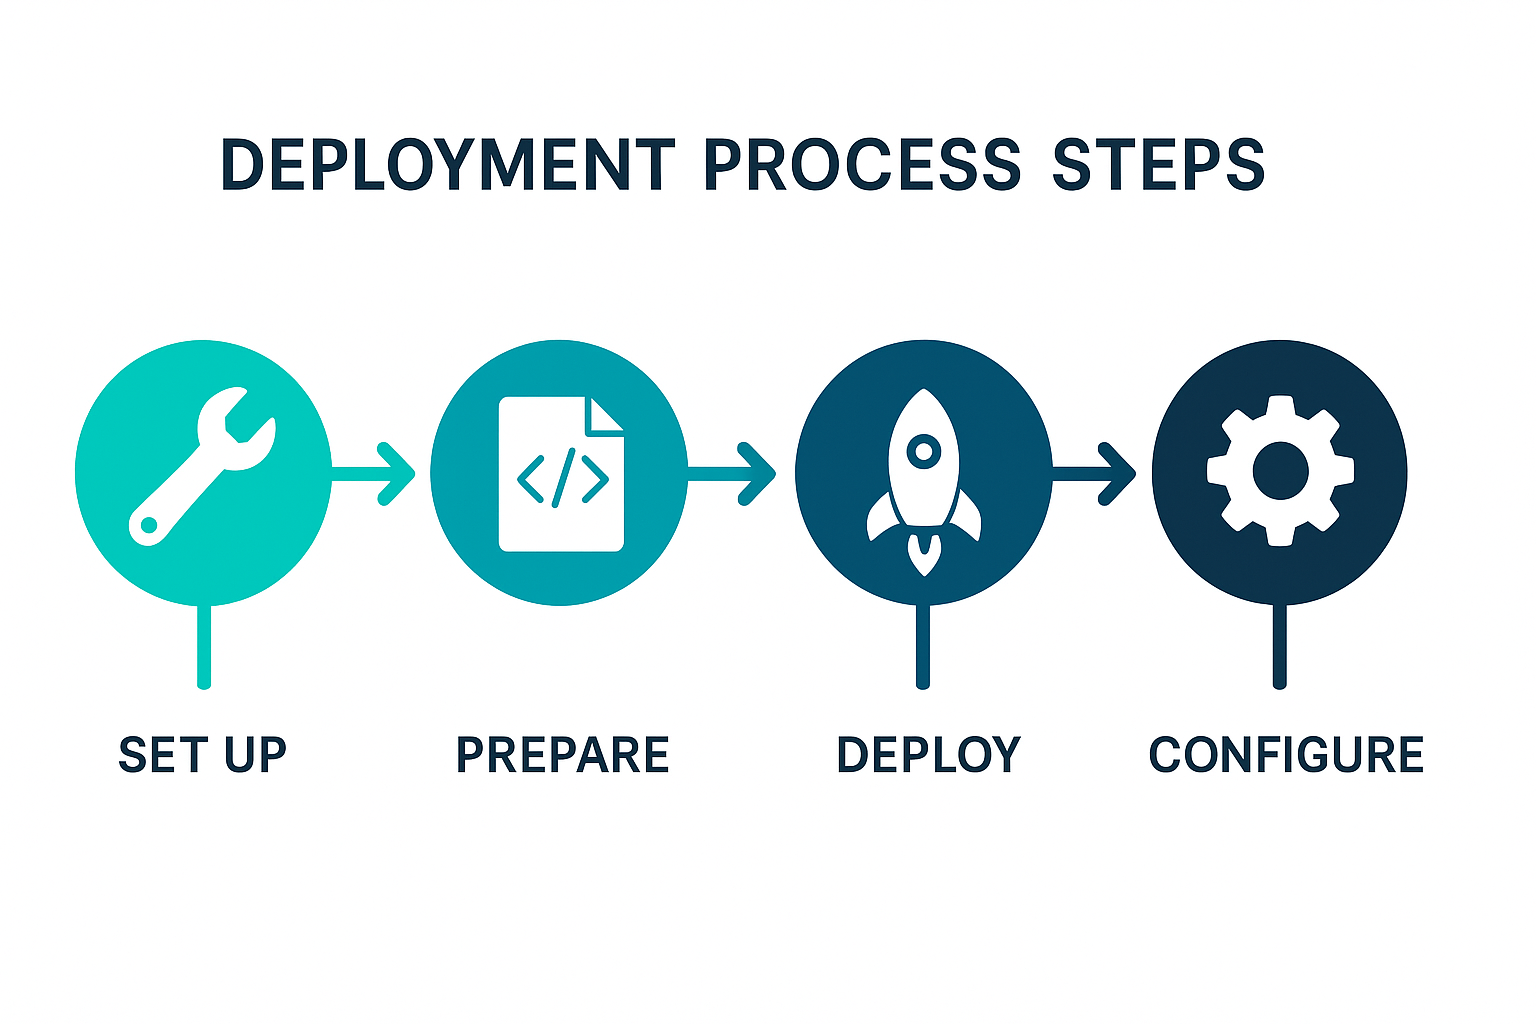
Now that your infrastructure is ready and your application is prepared, it's time to deploy:
convox apps create --rack=production myappconvox deployThis process includes:
Your deployment typically takes 10-20 minutes for the first build, depending on your application's size and complexity.
After your application is deployed, there are a few additional configurations to consider:
You can set secure environment variables for your application:
convox env set API_KEY=secret SECRET_TOKEN=tokenThese are encrypted at rest and injected into your application at runtime. When you set an environment variable, Convox creates a new release that needs to be promoted to take effect:
convox releases promoteConvox automatically creates and injects several important environment variables into your containers, including:
DATABASE_URL - A fully formed connection string for any database resourcePORT - The port your service should listen onRACK - The name of the Rack where your app is runningAPP - The name of your applicationSERVICE - The name of the specific serviceRELEASE - The current release IDThis automatic environment variable injection simplifies configuration and ensures your application has everything it needs to connect to its dependencies without manual setup.
By default, Convox provides a domain for your application, but you can use custom domains:
convox.yml, add the domain to your service:services:
web:
domain: ${HOST}
...convox env set HOST=myapp.example.org,www.myapp.example.orgconvox rack -r production
# Look for the Router URL in the output
# Create a CNAME record from myapp.example.org to this URLConvox will automatically provision and renew SSL certificates for your domains.
Convox makes it easy to scale your application both manually and automatically:
To scale your service to a specific number of instances with defined resource limits:
convox scale web --count 3 --cpu 256 --memory 1024For more dynamic scaling, you can configure autoscaling in your convox.yml:
services:
  web:
    scale:
      count: 1-5  # Min-max range for autoscaling
      cpu: 256    # CPU units per process (1000 = 1 full CPU)
      memory: 512 # Memory in MB per process
      targets:
        cpu: 70   # Target CPU utilization percentage
        memory: 80 # Target memory utilization percentage
This configuration will automatically scale your service between 1 and 5 instances based on the specified CPU and memory utilization targets. When the average utilization exceeds the target, the service will scale up, and when it drops significantly below, it will scale down.
You can also configure custom metrics-based autoscaling using DataDog or other monitoring solutions for more advanced scaling triggers.
In less than an hour, you've:
What makes Convox particularly valuable for SaaS startups isn't just the quick setup, but the DevOps best practices automatically implemented:
convox scale web --count=3 --cpu=256 --memory=512convox logs -a myapp # All application logs
convox logs -a myapp -s web # Only web service logs
convox logs -a myapp -s worker # Only worker service logsA dedicated DevOps engineer costs $120,000+ annually in most markets. Even if they spend just 25% of their time on infrastructure management, that's $30,000 in salary alone. Convox provides the same capabilities at a fraction of the cost, allowing your development team to focus on building your product rather than managing infrastructure.
Now that you have a production application running, here are recommended next steps:
We've demonstrated how SaaS startups can deploy production-ready infrastructure in under an hour using Convox. This approach allows small teams to implement DevOps best practices without dedicated specialists, creating a solid foundation for growth.
As your startup scales, Convox scales with you, providing the infrastructure flexibility you need without the complexity of managing raw Kubernetes or cloud provider services.
Ready to get started? Sign up free to deploy your first application in minutes, or contact us for personalized guidance on your specific deployment needs.